Disclosure: This page contains affiliate links. We earn commission if you click on a product link and make a purchase.
Having a running water system in such a small van is definitely a luxury. A highly recommended luxury! Even if you’re using your van just for weekend trips, you’re going to be carrying a fairly large water container anyway. Might as well stick a pump on it! Not having to bend down and fiddle with a water bottle every time you need some water is a huge convenience.
The schematic above shows the main parts of our water system. Very straightforward, and no special tools needed! All you need is a screw driver and drill to mount the pump and accumulator to the wooden wall. The entire system installed (sink included, but not counting the faucet) packages neatly within 11″ x 14″ x 24″. Sick!
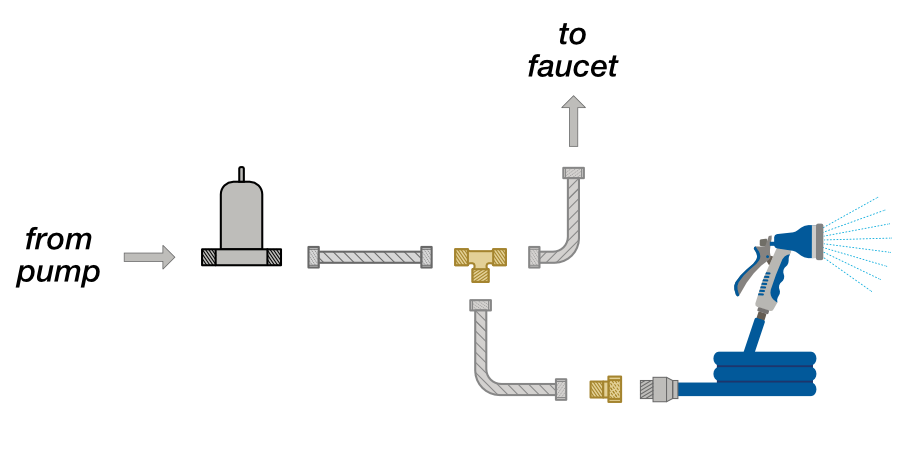
We also hooked up a garden hose sprayer to this water system. A simplified diagram is below, but be sure to check out our Sprayer page for more details.
Water Reservoir
We used the ubiquitous 4-gallon Aqua-tainer for our water tank. It usually lasts us about 3-4 days. We would have preferred having the 7-gallon tank, but that was a little too big for our layout.
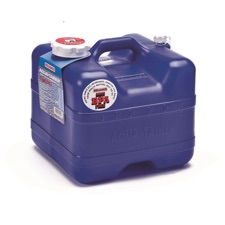
The Aqua-tainer’s cap has an internal 3/8″ pipe thread; so you can find the right components to directly connect the pump to the tank without having to leave the opening uncovered. The pump components have a 1/2″ pipe thread, so you’ll need a 3/8″ to 1/2″ adapter. The elbow is just to avoid having the bend in the flexible braided connector.
Water Pump
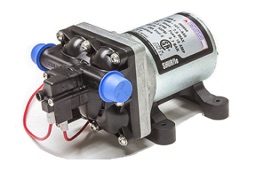
The Shurflo 4008 pump is pretty plug-n-play. As soon as you hook it up to a 12V power source (with a 10A fuse), it will start pumping. It stops pumping as soon as it detects sufficient pressure built up on the delivery side (40 psi). The $10 filter is recommended, to prevent any gunk from damaging the pump, or getting into your drinking water. Here’s the manual for the pump.
Accumulator
The accumulator is basically just a pressurized tank. It holds a small volume of pressurized water, thus smoothening out the water delivery out of the faucet, and reducing the on/off cycling of the pump. You can probably skip it, but there’s a good chance your faucet will occasionally belch out water – projectile vomit style, instead of delivering a smooth flow.
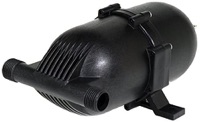
The accumulator has a steel stem with a Schrader valve – the same as a regular car or bicycle tire. The accumulator should be pressurized to 30 psi – this can be done with a bicycle pump. While pressurizing, be sure to turn the pump off, and keep the faucet open. It is also recommended to check the pressure once a year – you can use a normal tire pressure gauge for this. Here’s the manual for the accumulator.
All the components simply screw into each other, so the whole system is super easy to set up. The Shurflo components and the flexible hoses have a gasket, so simply tightening them will provide a leak-proof connection. The copper connectors do not, so you will need to seal each of those connections with PTFE tape. Check out this video on how to do that.
The entire water system costs about $320, and fits neatly underneath the sink. We’re very glad to have it!
Installation
As mentioned above, the entire plumbing system fits within 11″ x 14″ x 24″, and we installed all the components below the sink, in our Counter Storage cabinet.
We cut the hole for the sink using a jig saw – by tracing the required shape using a pencil, and then sanding the edges. The sink we bought is actually an under-mount sink, but we just installed it above the counter by screwing directly through. We cut the hole for the faucet, with a 1″ hole saw.

Winterizing
It is very important that you don’t let any part of your water system freeze. Water expands when it freezes, and it can damage your plumbing or the pump itself.
If you will be parking below 32° F for an extended duration, be sure to completely drain the entire system. Disconnect the pump from the water tank, turn on all your faucets, and let the pump purge all the water out of the plumbing. Shurflo also recommends that the plumbing be removed at the pump’s inlet and outlet.
A Simpler Option
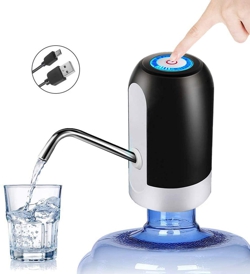
If you want to really keep things basic, there’s a much simpler and cheaper option available. An integrated USB-powered water pump dispenser, that fits directly on a standard water jug. 15 bucks. Such a simple, cheap and elegant solution! You could install the sink and the dispenser on a countertop, with the water jug sitting in a cabinet below.
We only found out about this dispenser recently. If we have known about it back when we started building the van, we would have definitely considered it for our water system. The only downside is that we wouldn’t be able to install the sprayer. Hmm… No deal.
