Wires
Choosing the type of wire you will need is pretty simple. Here’s some useful information about wire types and sizes.
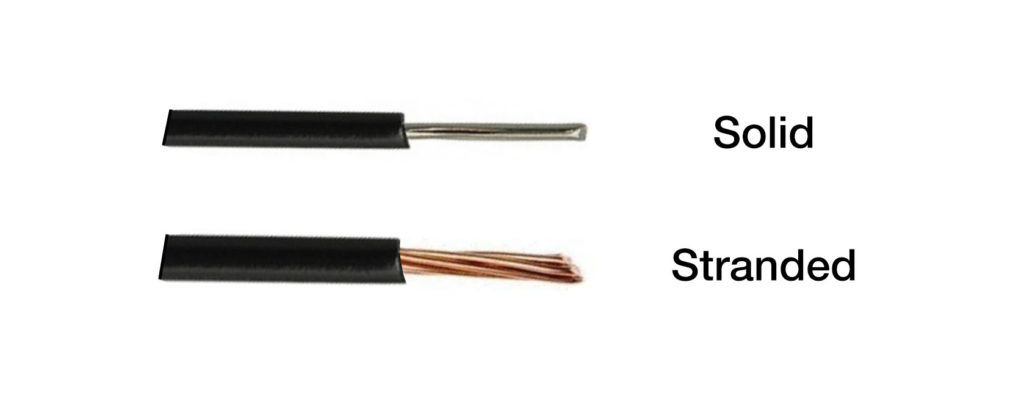
Stranded vs Solid
There are two types of electrical wire – stranded and solid. Since solid wire is not very flexible, you’ll want to stick to stranded wire for all your wiring.
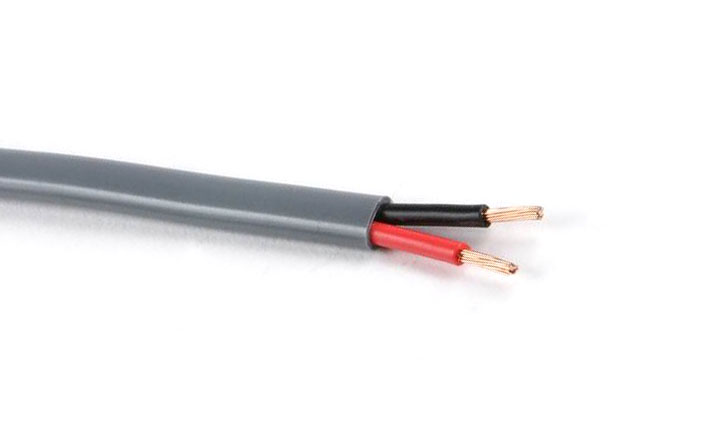
Duplex Wires
Any electrical device needs two connections (+ and -), so you’ll have two wires going to each device. Duplex wires are very convenient, because two separate wires are contained within the same sheath. You just need to separate them at the ends where you need to make your connections. Most of your wiring should be done with stranded duplex wires.
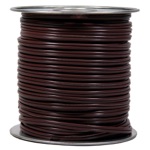
Wire Size
Disclosure: This page contains affiliate links. We earn commission if you click on a product link and make a purchase.
Wire sizes are commonly specified by their ‘gauge’ – which is effectively a measure of their diameter. In the US, wires are rated according to the AWG scale (American Wire Gauge). An 18 AWG wire is very thin, while a 2 AWG is very thick.
There are all sorts of online calculators and wire size charts to help you determine what wire to use. But the bottom line is that most of your wiring can be done with just one type of wire – 14 AWG duplex stranded wire (also called 14/2 stranded wire). It’s useful to just have a 100ft roll of this wire on hand.
Here’s the low down on wire sizing. Wire size depends on two factors – the current flowing through the wire, and the length of the wire.
- A wire carrying higher current needs to be thicker. Running higher current in a thin wire will cause it to get hot or even melt – this can be a fire hazard.
- A longer wire needs to be thicker. A long, thin wire causes more electrical resistance and would cause a larger voltage drop – some devices are more sensitive to supply voltage, so this is avoidable.
- There’s not much of a downside to using a thicker wire, so it is always better to size up (e.g. 14 AWG instead of 16 AWG).
To determine the minimum wire size for a particular circuit, you can use the chart below. You’ll need to know the current rating of the device you are connecting, and how far it is from the battery. Remember that you need to include the length of both the + and – connections, so a device that is 5 feet away from the battery needs a 10 foot long wire.
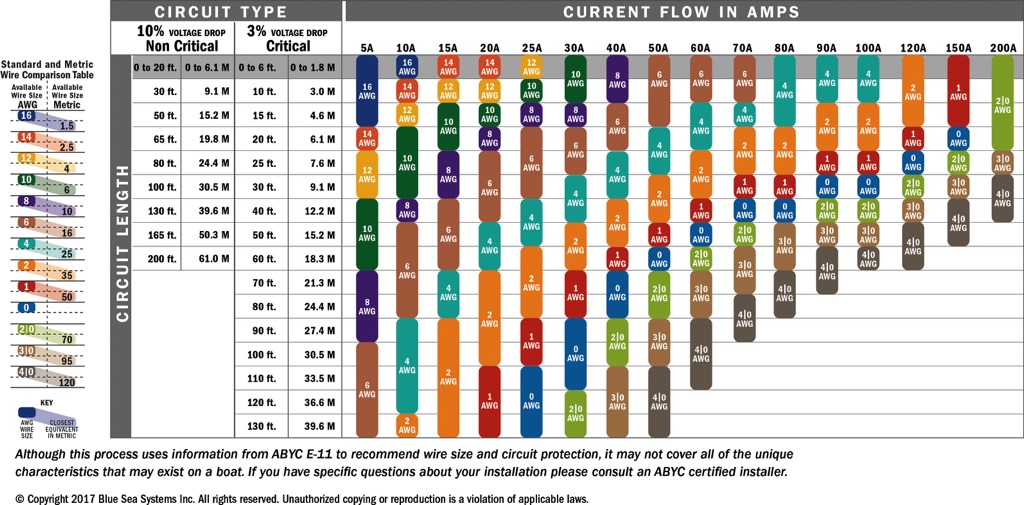
Most of your devices will be under 5A rating and within 15 feet of your battery, so 16 AWG is the most common wire you will need. Overall, it’s probably best to just buy a roll of 14 AWG duplex wire – sizing up is a better option, and some of your devices may draw more than 5A.
Certain connections will carry significantly higher current – like the wires connecting your battery charger to your battery – for which you’ll probably need thicker wire like 8 AWG. Check out our Wiring Diagrams page to see all the wire sizes we used.
Connectors
Electrical connectors are needed to be installed on the ends of your wires, in order to connect the wires to your electrical components securely. These connectors all have standardized color coding, according to the wire sizes they accommodate.
- Pink – 22 AWG to 16 AWG
- Blue – 16 AWG to 14 AWG
- Yellow – 12 AWG to 10 AWG
Here are the three common types of electrical connectors you will use.
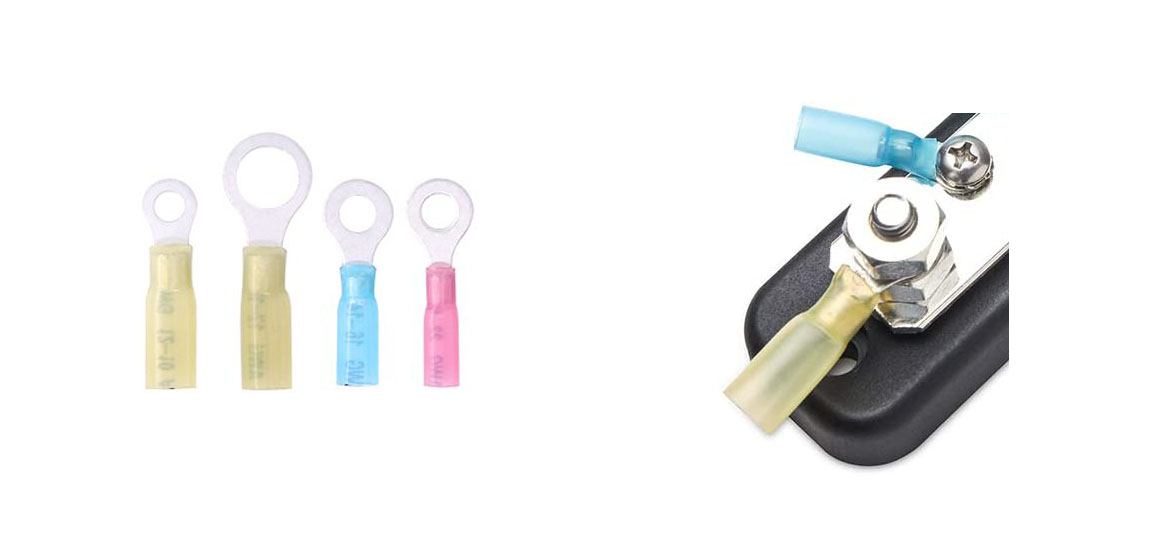
Ring Terminals
These connectors are commonly used to connect wires to the terminals of the battery, fuse block, bus bars etc. They consist of a ring, which is tightened against the terminal post using a nut or a screw. Ring terminals are available in several ring sizes. We recommend buying this box of multiple size ring terminals.
Female Spade Terminals
These connectors are commonly used to connect wires to devices that have male spade connectors, such as USB power ports, 12 V sockets, and switches. The connectors just slide into each other, and are easily removable. Devices that have male spade terminals often come with a pair of female terminals as well.

Butt Connectors
These connectors are commonly used to join two wires permanently. You’ll often need to use butt connectors to connect the short wire leads on your appliances (like the MaxxFan), to the longer 14 AWG wire leading to the fuse block. We used this box of multiple size butt connectors.
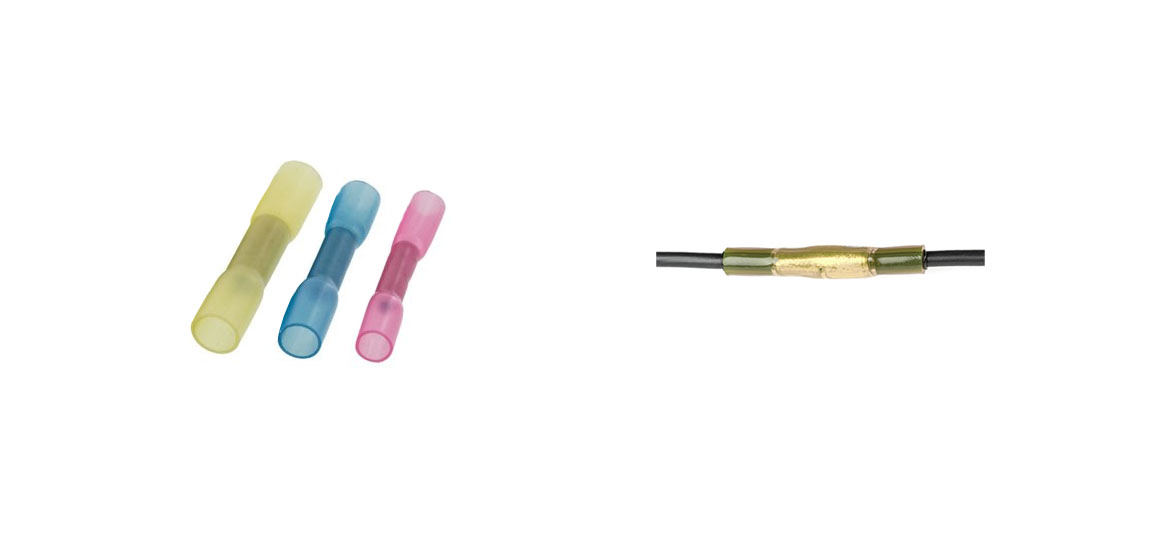
These connectors can be installed on your wires by using a crimping tool, it’s very easy and quite satisfying. We recommend using connectors with a heat shrink protective material, because it’s so much fun to use a heat gun.
Crimping
In order to make the wiring connections described above, a crimping tool is highly recommended. You could get by with just a pair of scissors and pliers, but a good crimping tool makes the process so much easier and actually enjoyable!
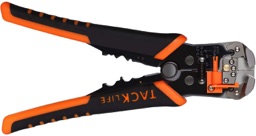
Here’s the process of installing a connector onto a wire:
- The end of the wire will first need to be ‘stripped’ – where the protective sheath on the wire is removed, to expose the conductor itself. About a finger’s width should do.
- Then, the exposed part of the wire is inserted into the connector.
- Finally, the connection is ‘crimped’ – basically, the connector is compressed tightly against the wire, so that the wire cannot slide out.
- Totally optional, but very enjoyable – if you choose to use heat shrink electrical connectors, you can use a heat gun to shrink wrap the protective material of the connector onto the wire.
Here’s a good video on how to crimp electrical connectors.
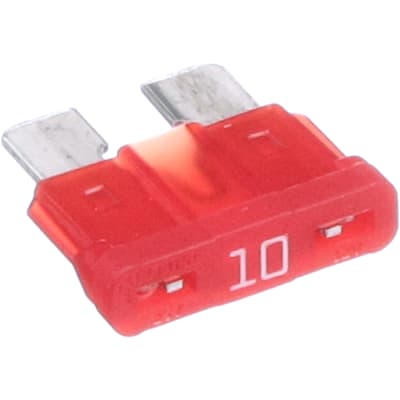
Fuses
We’ve mentioned that each device needs a fuse, to protect it from damage due to excess current. Automotive style blade fuses work great, and we recommend getting a variety such as this fuse box, which comes with several fuses of different current ratings.
Fuse blocks
Since you’ll probably have several devices installed in your van – each needing its own fuse – you’ll want a fuse block to hold all the fuses, and keep them organized. They are available in multiple sizes. We found this 12-port fuse block to be sufficient for our van.
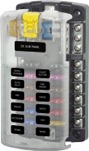
The fuse block has its input (+) and (-) connections, which are to be connected to the (+) and (-) terminals of your battery. It also has an array of fuse slots, which you can plug your fuses into. Labels are provided so you can tell which fuse is for which device – make use of them!
Each device is connected to the fuse block with its own specific fuse, as shown below. All the (-) terminals are together, and each (+) terminal has its own fuse slot corresponding to the device that is connected to it.

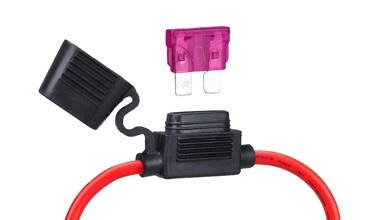
In-line fuse holder
Certain fuses need to be installed individually – for example, between the battery charger and the battery. This can be done using an in-line fuse holder. The wires are simply connected to the fuse holder using a butt connector.
Miscellaneous Components
Bus Bars
Your electrical system will have several devices that need to be connected to the same (+) and (-) connection – the battery itself, the battery chargers, the fuse block, and the main power switch. To keep things organized, it is helpful to have a bus bar. Since our electrical system is pretty compact, we skipped this and just stacked multiple ring connectors where needed.

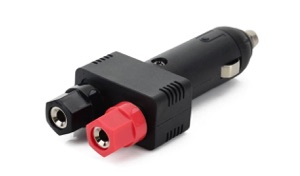
12 V Plug With Binding Posts
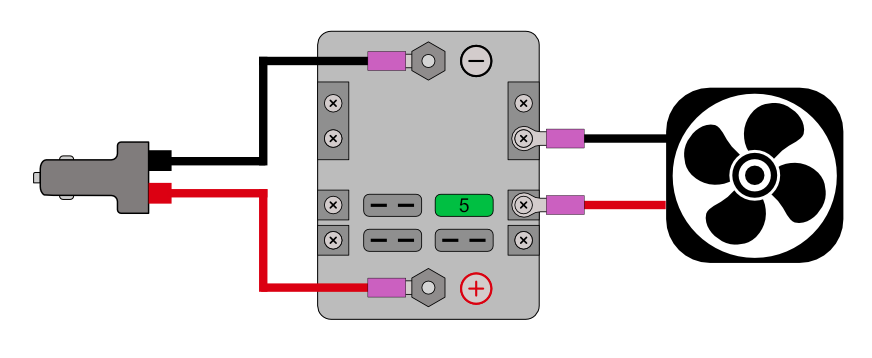
This binding post plug is a very handy little device that you can use to temporarily power a device, if you don’t have access to a 12 V battery. It basically allows you to use the vehicle’s 12 V battery as a power source – by providing terminals to plug wires into. This can be very useful if you’re trying to test out a device before you’ve installed your battery.
One of the first things we had bought was our MaxxAir fan. Before actually cutting the roof and installing the fan, we wanted to make sure it actually works! It’s probably a good idea to do that with any component you buy – you don’t want to spend hours installing it, only to find out you got a part that was DOA. Here’s a simple schematic of how we used this binding post plug to test the fan.
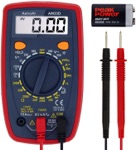
Multimeter
A multimeter is used for testing electrical connections. You shouldn’t need it, but it is handy to have around, in case an electrical connection is not working, and you need to figure out why. You can use the two probes to verify the voltage being supplied to your device.