Power Source
The first consideration for your electrical system is – what does your power source need to look like? You could go for an all-in-one unit described below, but our recommendation is to build your own system using a 12V automotive battery.
All-In-One Power Source
Disclosure: This page contains affiliate links. We earn commission if you click on a product link and make a purchase.
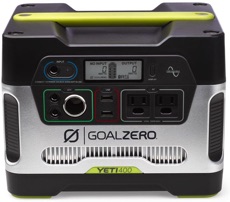
An all-in-one unit like the Goal Zero Yeti can be a pretty good option, if your priority is ease and simplicity, and your power requirements are low. The upside is that you get a single unit with a battery, USB ports, a 12V socket, as well as 110V sockets in one compact package – no wiring needed. The downside is that it is pretty expensive for what you get – low battery capacity (33 Ah) and low inverter capacity (300 W).
If you’re going to be running just a set of lights, and maybe charging your laptop, phone and camera batteries, this might work out well for you. You could probably even get away with powering a couple appliances like a fan or a heater with a unit like this, but your capacity will be pretty limited.
If you’re going through the trouble of building out a camper, we highly recommend building your own setup, with a basic 12V battery as your power source.
12V Battery
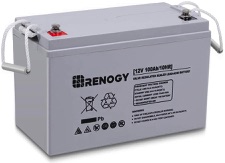
There are so many options for battery types and capacities, but all things considered – we think a 100 Ah Deep Cycle AGM battery is ideal for a weekender style camper van. Read on for some common considerations.
As we mentioned while discussing Amp-hours in the Electrical Basics page, you can very quickly come up with a pretty good estimate of what your battery capacity needs to be. We recommend being conservative with your calculations and sizing up your battery. It won’t add much cost, and you’ll future proof your camper for sweet new additions like a fridge!
| Device | Amp Rating | Daily Use | Daily Battery Usage |
|---|---|---|---|
| Lights | 0.5 A | 5 h | 2.5 Ah |
| Fan | 0.5 A | 8 h | 4 Ah |
| Heater | 1.4 A | 5 h | 7 Ah |
| Water Pump | 5 A | 0.1 h | 0.5 Ah |
| Fridge | 5 A | 4 h | 20 Ah |
| Total | – | – | 34 Ah |
Keep in mind, that for AGM batteries, it is recommended to not discharge them more than 50%, otherwise you risk severely reducing battery life. So, in order to select the right capacity AGM battery, you’ll have to double your total usage estimate, and also estimate how many days you need to be able to stay in your van without charging the battery.
When we travel, we remain parked overnight, and typically drive around during the day. Since we were installing a charger that charges the battery while driving, we figured we would be able to keep a 100 Ah battery at a healthy state of charge for our typical usage, even on extended trips.
So far, our battery has been sufficient for all our trips, including a two-week long trip in California, and a week-long trip in Banff during freezing temperatures.
Rules to keep in mind for AGM batteries:
- To maximize battery life, it is best to keep the battery at a high state of charge at all times.
- Don’t let the battery sit around discharged for long durations.
- Always recharge the battery as completely as possible.
- Never discharge your battery more than 50% of its capacity. Doing so may severely reduce battery life.
- Charging should be low and slow. A high Amp charger may top off your battery faster, but will likely reduce its useful life.
Battery Monitoring
The ability to know the state of charge of your battery is a useful feature to have. You could ensure that your battery remains healthy, and you would not have to worry about your heater turning off in the middle of a cold winter night, because your battery got discharged.
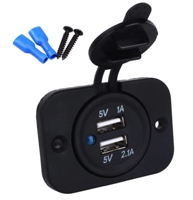
There are a wide range of battery monitors available. Renogy has a model for $100, while this cheaper monitor is available for just $20. We just installed a 12V socket voltmeter. All it does it tell you the current voltage of your battery, which is a good indication of how your battery’s doing. And you get two free USB sockets!
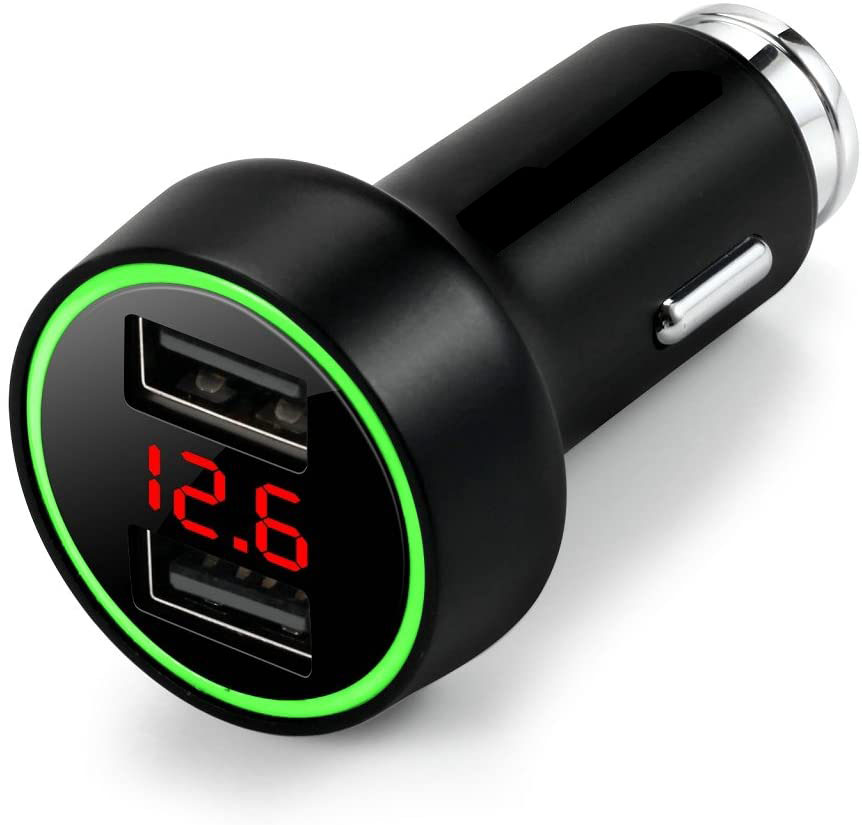
12 V Battery Voltage
- A fully charged 12V battery usually reads around 12.7V. This is also what it will read when being charged by a battery charger off a wall socket.
- Alternators typically output about 14.7V, so that’s the reading you’d get when your engine’s running and you have a charger hooked up to your vehicle’s charging system.
- If the voltmeter shows 12.0V, you’re probably approaching a 50% discharge.
- Finally, if the voltage drops below 11.8V, you’re probably running the risk of damaging your batteries.
- Many devices have warnings when your system voltage exceeds normal operating range (typically 11.5 to 15V). For example, our Propex heater has a little fault indicator LED that flashes when the voltage exceeds 15V or drops below 10V.
Battery Charging System
For a weekender camper van, all you really need is a battery charger that you can plug into the wall socket at home. Leave it plugged in overnight before a trip, and you should be fine for an entire weekend (assuming your usage is low, and your battery is adequately sized).
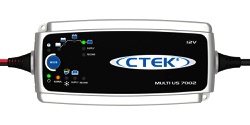
For the wall charger (also called a shore charger), we recommend the CTEK 7002. It comes with a ring terminal cable that can be directly connected to the battery terminals, and the charger itself can be mounted directly to the floor with screws. Its charging current is 7A, and should be able to fully charge a 100 Ah battery overnight.
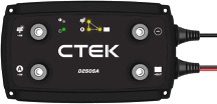
To keep the battery charge at a high level (which is essential to maintain the battery’s health), you’ll want to be able to recharge the battery as you drive – through your van’s charging system. We used the CTEK D250SE battery charger. It’s a very reliable and easy to use system that can even be expanded to add solar panels. It charges at 20A – so even an hour or two of driving would compensate for a whole night’s worth of battery depletion (for our limited use).
This system of a 100 Ah AGM battery with the two battery chargers has worked out really well for us. We’ve gone on a two week-long road trip in California, and a week-long trip in Banff during freezing temperatures, and have never had to worry about running low on power.
Below is a schematic of our van’s power system – showing just the battery, the two chargers, and the fuse block. All the appliances can be connected to the fuse block, with their respective fuses.
The main on/off switch should be installed on the wire between the fuse block and the bus bar. This way, charging can occur even when the main switch is in the off position.
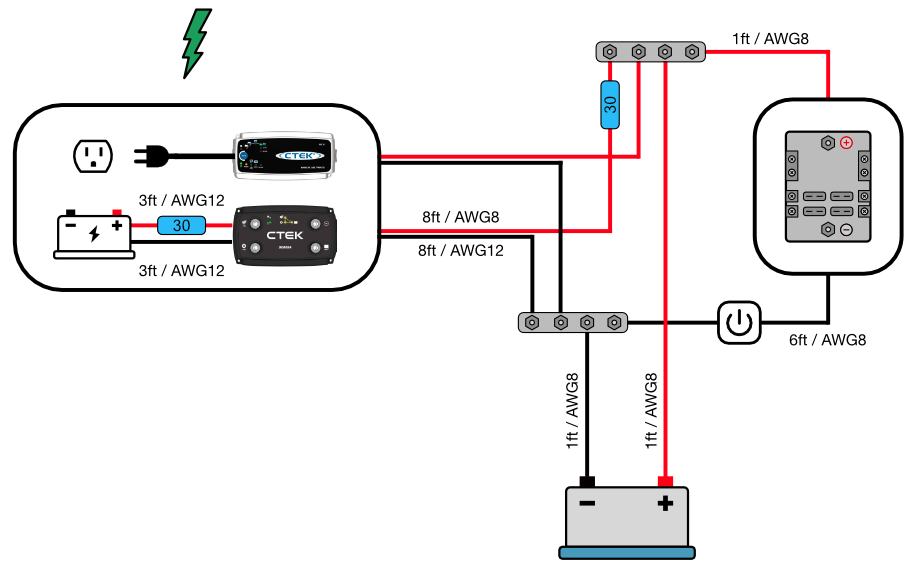
The diagram below is from CTEK, and shows how the CTEK D250SE and 7002 battery chargers are to be wired. The black AGM cable can be connected to the negative terminal on the D250SE itself. Since the Metris has a smart alternator, you can also connect the red cable for the smart alternator, to the positive terminal on the D250SE.
It’s a good idea to add a switch between the D250SE’s positive terminal, and the positive terminal of the starter battery – so you can control when the system is charging from the alternator.

One thing was very clear right from the beginning – this van had to be pimpin’. That included designing in a host of appliances, ports and chargers. Here are all the appliances we decided to install.
MaxxAir MaxxFan
The most popular fan for campers of all sizes. It has 10 speed settings, and can be used even when it’s raining. See our Fan page for more info.
LED String Lights
This set of LED string lights is cheap, consumes low power, and is dimmable. See our Lights page for more info.
Igloo Fridge
This excellent little fridge is perfect for a small camper. See our Fridge page for more info.
Shurflo Water Pump
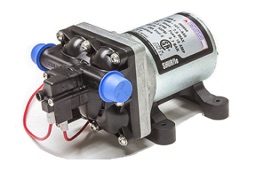
Another common fixture in RVs and campers. See our Water System page for more info.
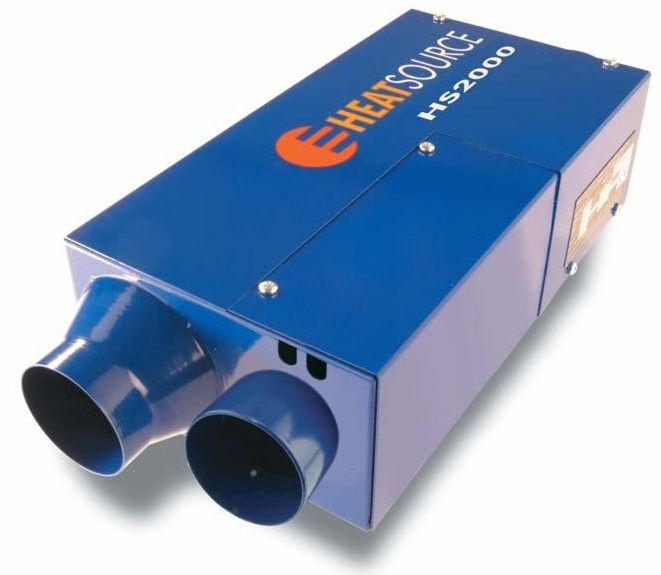
Propex HS2000 Heater
This propane heater is efficient and keeps our van super warm. See our Heater page for more info.
USB Ports
Simple USB ports that can be installed flush on a wall or cabinet. See our Charging Stations page for more info.
12V Socket
Just a simple 12V socket that can be installed flush on a wall or cabinet. See our Charging Stations page for more info.
Wall Sockets
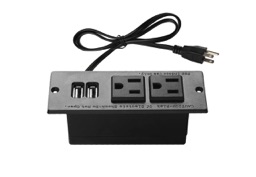
This recessed power strip meant for conference room tables is perfect for installing wall sockets in your camper. See our Charging Stations page for more info.
Electrical System Layout Considerations
Apart from component selection and circuit design, another challenge for your electrical system is the actual physical layout of the various components. There are a few major layout considerations to think about.
Master Switch
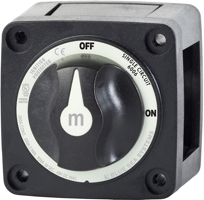
It’s important to have an easily accessible ‘master switch’ that will completely disconnect the entire electrical system, so that you can quickly turn the entire system off when leaving the van by itself, or when you’re doing any repair or maintenance on your system.
On/Off Switches
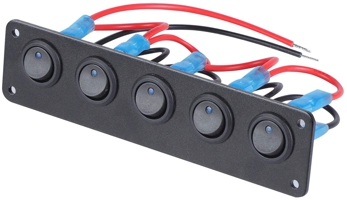
Apart from a master switch, we recommend installing an on/off switch for your other main devices – such as the water pump, heater and fridge. For example, in case your water system develops a leak while on a trip, it’s easier to be able to turn it off without having to pull the fuse.
Location, location, location!
- Things can and will go wrong! Your major electrical components should be located such that you can access them without having to tear things apart.
- Charging devices usually have indicator lights on them. It’s handy to be able to glance at them, to check their status.
- Your wiring should be as short as possible, to reduce losses. This is especially true for high current devices such as a fridge. Having a centrally located battery and fuse box helps with this, so that you don’t have wires running back and forth unnecessarily.
- Having the fuse box easily accessible is very useful in case you blow a fuse. Also, as you make upgrades and add more components, it’s handy to have the fuse box accessible to make the new connections.
Layout Schematic
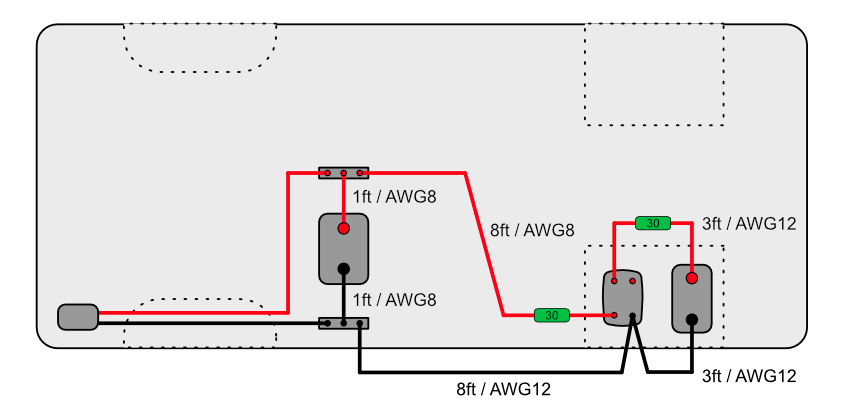
Before you actually start installing your electrical system, it’s a good idea to create a basic layout diagram. This will help you organize your thoughts, and ensure you have all the components you need on hand, before you start work.
Below is a schematic of our electrical layout – just the main components – the battery and the charging system, with some approximate dimensions and wire sizes. This forms the backbone of your electrical circuit. Once you have this layout figured out, all you have to do is wire your fuse block to the bus bars, and start plugging your devices to the fuse block!
Mounting The Main Components
The battery being the exception, most of the electrical components like chargers, fuse blocks etc. come with mounting screws, and can simply be screwed directly to your flooring or wall panels.
In the Metris, the van’s battery is located in a compartment underneath the passenger seat, and there’s also space underneath the passenger seat to install the D250SE charger. This made it very convenient to wire the connections between the van’s battery terminals, and the charger.
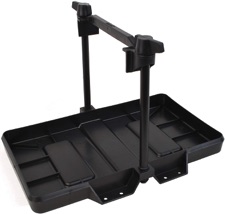
We installed the battery underneath the bed, with the fuse block screwed to a 1/4″ plywood panel. We just used a couple of lashing straps, looped around the frame of the bed to secure the battery and the fuse block panel. Another common option is to use a battery tray like this one.
